SILVA STAIR
DUNE
Sand beige
STX-SVS001

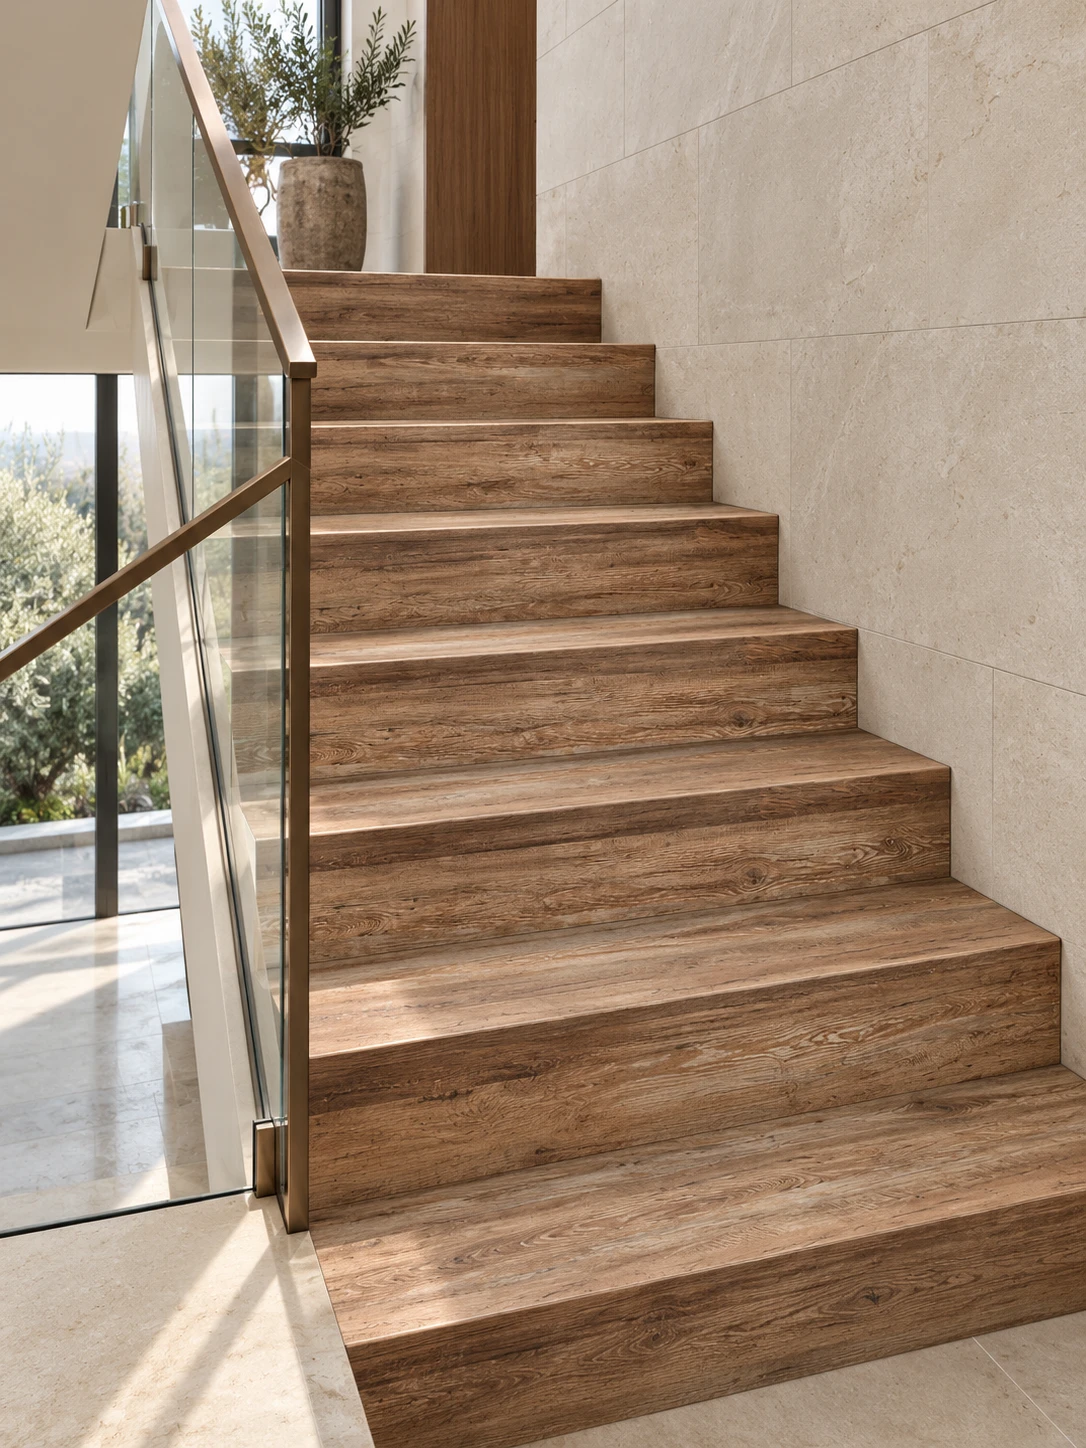
PREMIUM SPC / STAIR COLLECTION
From floor to stair with SILVA STAIR.
Colour. Texture. Continuity.
01 / SILVA STAIR
A collection that brings the colour and grain of wood to treads and risers. Consider the staircase finish alongside the floor, walls and light.
The L-profile tread creates a clean front edge. A matching riser carries the same surface language between levels.
SILVA STAIR
Sand beige
STX-SVS001
SILVA STAIR
Weathered oak
STX-SVS002
SILVA STAIR
Smoked oak
STX-SVS003
SILVA STAIR
Aged wood
STX-SVS004
SILVA STAIR
Ash-grey oak
STX-SVS005
Select a decor to enlarge its surface. Confirm the final colour and texture using a physical sample.
02 / PRODUCT STRUCTURE AND DIMENSIONS
A cladding system combining an SPC surface with a wood-based support, supplied as treads and matching risers.
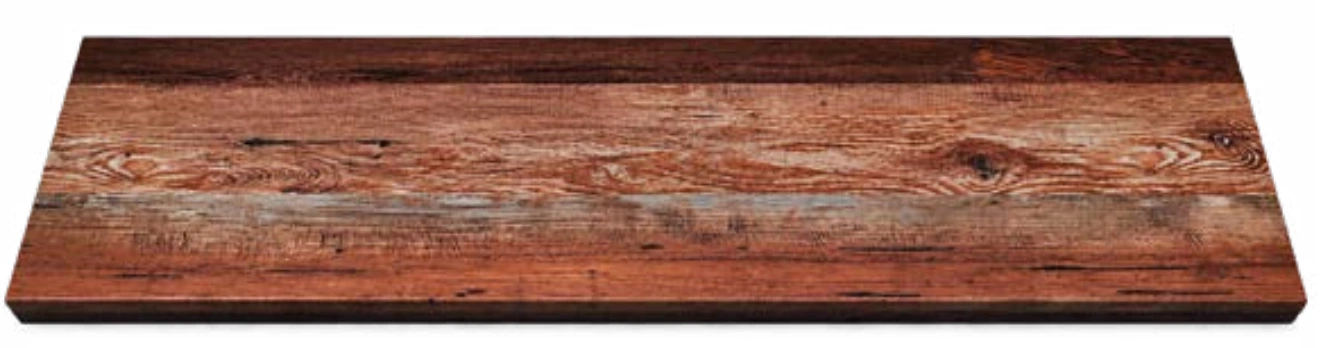
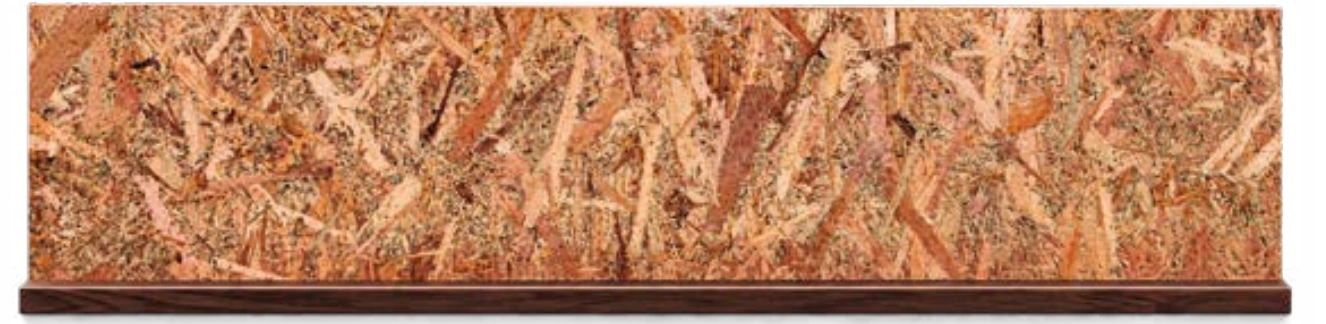
Product images illustrate the profile and support construction; they do not change with the selected decor.
03 / DIMENSIONS AND SET PLANNING
Measure tread width, depth and riser height on site. Box quantities are based on the number of treads and risers required.
Diagrams explain the dimensions. Verify the nosing and finishing details against the product drawing and site measurements.
BOX AND SET CALCULATOR
14 sets / 28 pieces
Cutting allowance, spare pieces, landings, winding steps and finishing details are excluded. Confirm the final quantity against project measurements.
04 / APPLICATION AND INSTALLATION
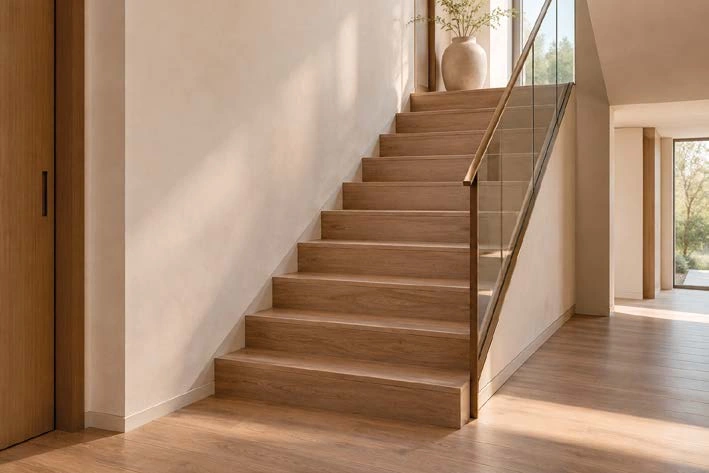
From residential staircases to office, retail and hospitality projects. Assess traffic levels, wear layer and installation conditions together.
The existing stair must be level, clean, dry and sound, with nosing and edge details prepared for installation.
Measure the tread and riser separately, then cut each piece carefully to the project dimensions.
Use an adhesive suitable for the product and substrate. Allow the specified curing time before applying loads.
Follow the current product and adhesive instructions for installation. Protect the wood-based support and joints from prolonged water exposure; the cladding does not replace structural waterproofing.
05 / CARE AND WARRANTY
Regular cleaning and suitable care help preserve the surface appearance.
Remove dust with a soft broom or microfibre cloth. Use a lightly damp cloth and a suitable surface cleaner; do not allow water to pool.
Avoid abrasive pads, harsh chemicals, sharp objects, impacts and dragging loads. Contact technical support if joints become loose.
LIMITED WARRANTY
The warranty term depends on the wear layer of the ordered product. Coverage, exclusions and claim procedures are defined in the STONEKS warranty document.
06 / CATALOGUE AND INSTALLATION
FOR YOUR PROJECT
Confirm your decor, sample, dimensions and order plan with the STONEKS team.
Information and sample request